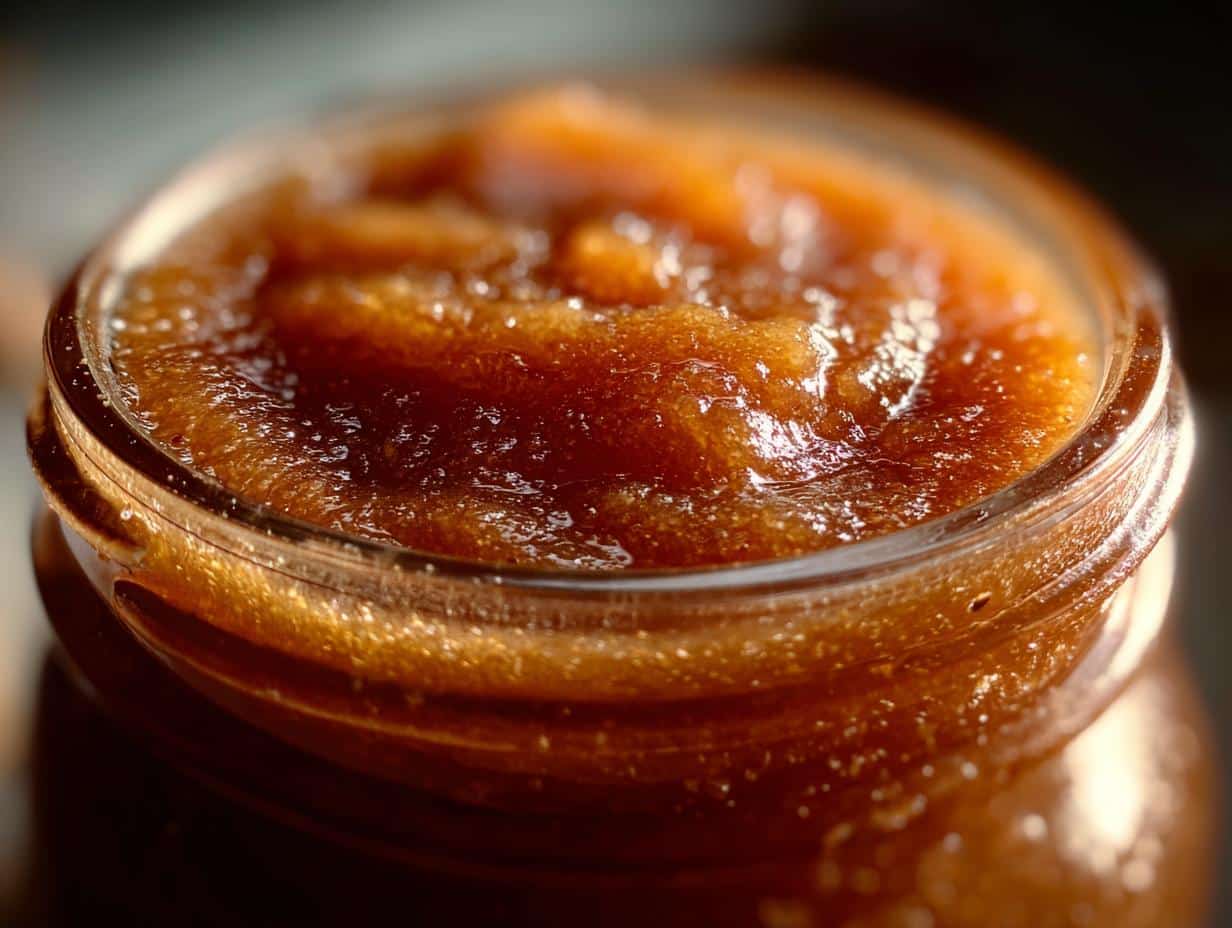
Oh, fall! It just smells like cozy kitchens and warm spices, doesn’t it? If you’re anything like me, you love capturing those delicious seasonal flavors to enjoy all year long. That’s exactly why I’m so excited to share my ultimate pear butter recipe with you! It’s this wonderfully rustic, slow-cooked spread that just screams autumn comfort. We’re talking soft, sweet pears simmered down with cinnamon, nutmeg, and cloves until it’s pure magic. As a self-taught chef who’s all about making comfort food feel good, this pear butter is a total winner. It’s simple, it’s homemade, and it tastes like a hug in a jar!
Why You’ll Love This Easy Pear Butter Recipe
Seriously, this pear butter recipe is a game-changer for your fall baking! It’s:
- Super simple to make—perfect for beginners!
- Bursting with warm, comforting fall flavors.
- Incredibly versatile—think toast, biscuits, or even yogurt!
- A fantastic way to preserve those ripe pears.
Making homemade pear butter has never been easier!
Quick Overview of Your Delicious Pear Butter
Get ready for some serious flavor! This recipe takes about 30 minutes of prep, but the cooking time is a little longer – around 4-6 hours total, depending on if you use the stovetop or slow cooker. You’ll end up with about 6 cups of pure pear goodness!
My Personal Connection to This Pear Butter Recipe
After my health scare, I really focused on making comfort food that felt good for my body, too. I remember having a ton of pears from the farmer’s market one year and wanting to capture that cozy, fall essence. This pear butter recipe was born out of that desire! It’s become a staple because it’s so rewarding to make something so delicious from scratch, and it fits perfectly with my goal of creating those feel-good meals we all crave.
Gathering Your Pear Butter Recipe Ingredients
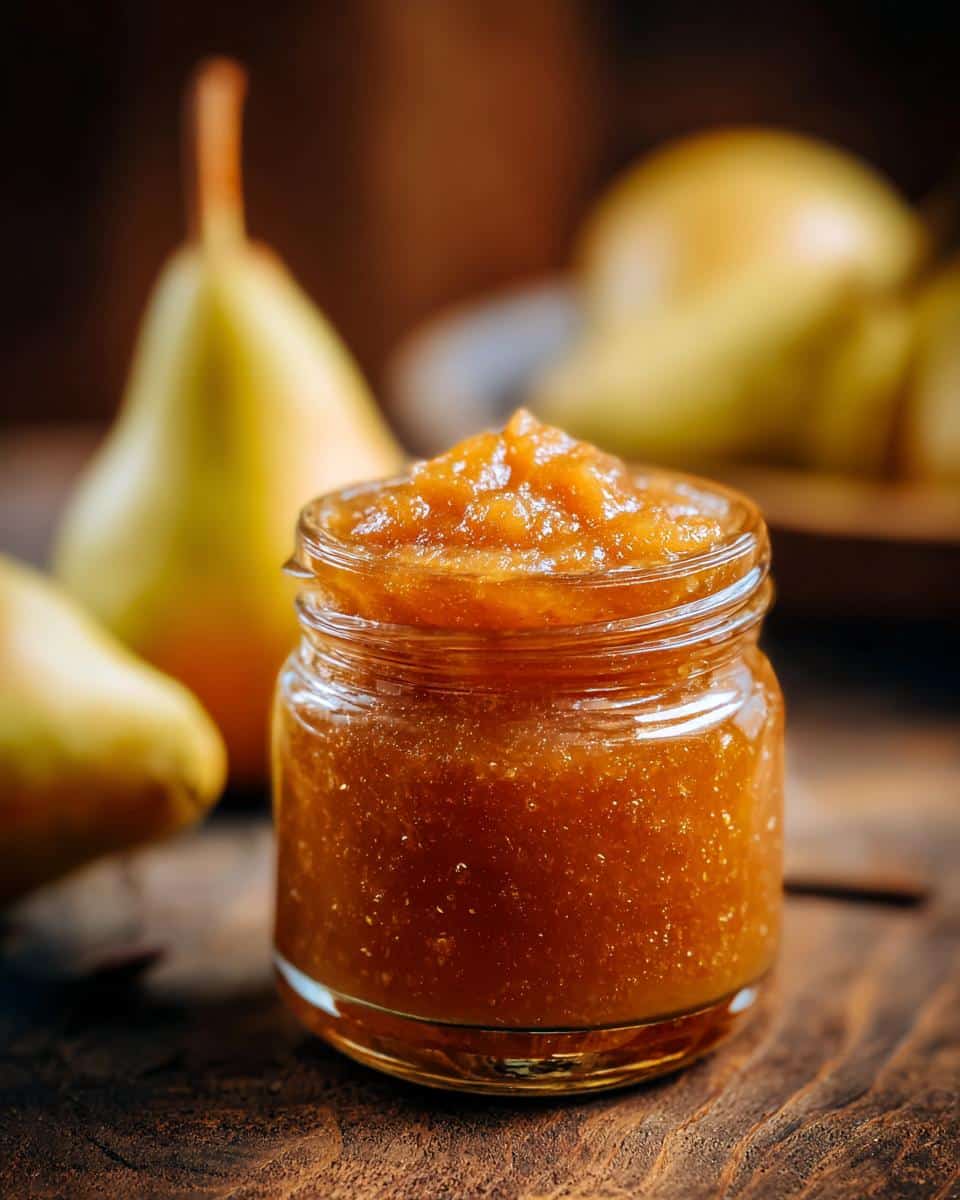
Alright, let’s get our ingredients ready for this amazing pear butter recipe! It’s pretty straightforward, which is exactly what I love. You’ll want to grab some really ripe pears—the softer and sweeter, the better. I usually go for a mix of varieties, like Bartlett and Bosc, because they give the pear butter such a lovely depth of flavor. You’ll need about 6 pounds of them, and be sure to peel them, get rid of the cores, and give them a good rough chop.
Essential Ingredients for Your Pear Butter
Here’s what you’ll need to grab:
- 6 pounds very ripe pears, peeled, cored, and roughly chopped (a mix of varieties like Bartlett and Bosc is recommended for best flavor)
- 2 cups filtered water
- 1 cup packed light brown sugar (or your preferred sugar substitute for a sugar-free pear butter)
- 1 teaspoon ground cinnamon
- 1/2 teaspoon ground nutmeg
- 1/4 teaspoon ground cloves
- 1 tablespoon fresh lemon juice
Ingredient Notes and Substitution Ideas
Using ripe pears is key here; they’re naturally sweeter and will break down beautifully. That lemon juice not only adds a little brightness but also helps keep that gorgeous pear color from getting too brown. If you’re looking to make this a sugar-free pear butter, don’t worry! You can easily swap the brown sugar for your favorite granulated sugar substitute. Just adjust the amount to your taste. As for the spices, feel free to play around! If you love cinnamon, add a little extra, or maybe try a pinch of cardamom if you’re feeling adventurous. The amounts listed are my favorite combination, but this recipe is super forgiving!
How to Prepare Your Pear Butter Recipe
Alright, let’s get this pear butter party started! You’ve got your beautiful pears, your cozy spices, and now it’s time to turn them into something truly special. Making this pear butter recipe is pretty straightforward, and honestly, the smell that fills your kitchen is just incredible. You can do it on the stovetop or in a slow cooker, which is great because you can pick whatever works best for your day!
Stovetop Method for Pear Butter
First things first, grab a nice big pot – seriously, the bigger the better, because pears cook down but start out bulky! Toss in your chopped pears and the 2 cups of water. Bring it to a boil over medium heat, then reduce it to a simmer. You want those pears to get super, super soft, which usually takes about 1 to 2 hours. Keep an eye on it and give it a stir now and then. Once they’re tender, mash ’em up! I usually use a potato masher right in the pot, but an immersion blender works wonders for a super smooth texture. Then, stir in your brown sugar, cinnamon, nutmeg, cloves, and that bit of lemon juice. Now, here’s where the magic happens: keep it simmering on low heat, stirring *really* often to prevent sticking. This thickening part can take another 2 to 4 hours. You’ll know it’s ready when it’s nice and thick!
Slow Cooker Method for Pear Butter
If you’re a slow cooker fan (like me!), this is your jam. Just put your chopped pears and water into the slow cooker. Set it to low and let it do its thing for about 1-2 hours, or until those pears are falling-apart tender. Then, mash or blend them right in the cooker. Stir in your brown sugar, spices, and lemon juice. Now, here’s the trick for the slow cooker version: you’ll want to remove the lid (or prop it open a bit) and cook on low for another 2-4 hours, stirring every 30 minutes or so. This helps all that extra moisture evaporate and lets your pear butter thicken up beautifully. It’s so convenient because you can just let it bubble away!
Achieving the Perfect Pear Butter Consistency
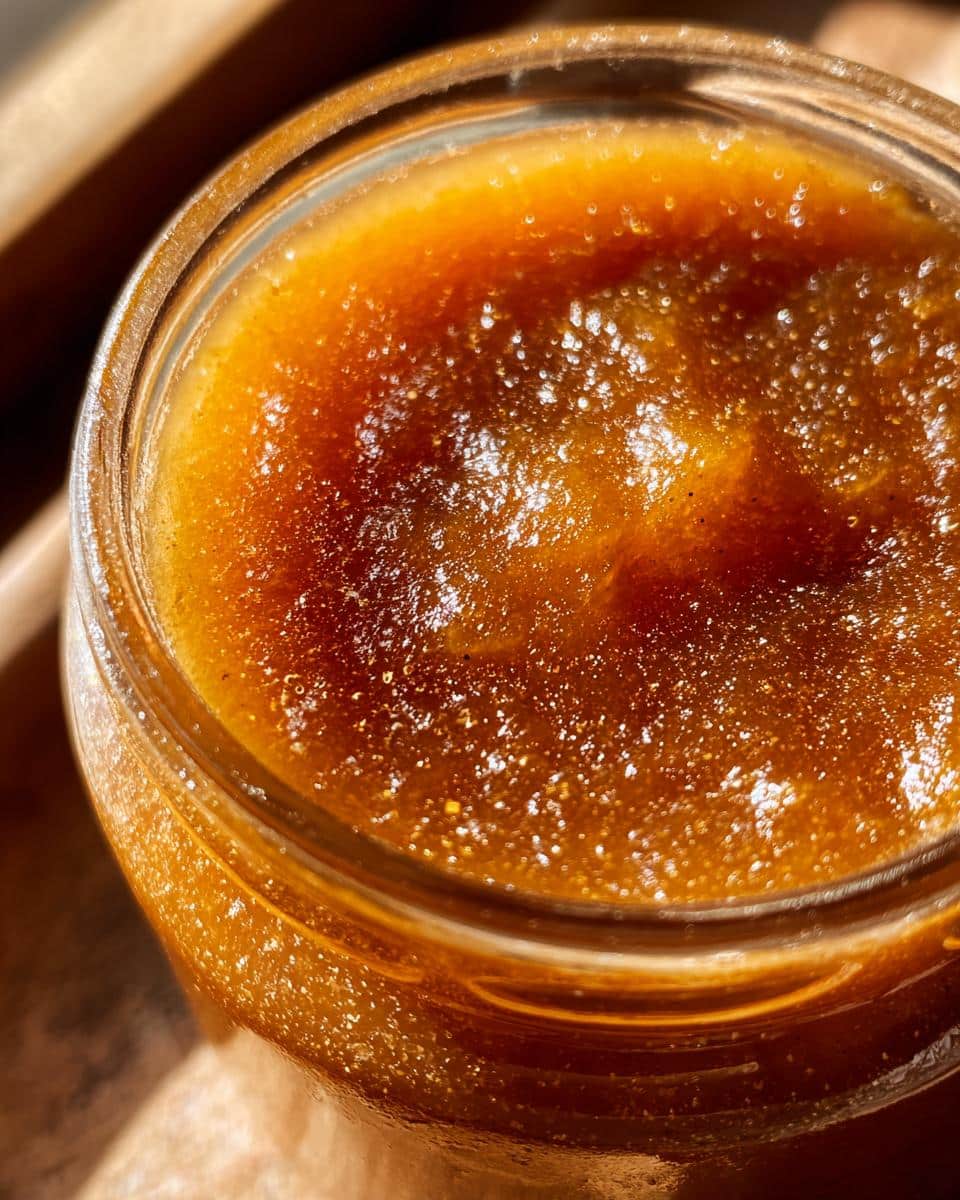
The key to amazing pear butter is getting that perfect consistency. You’re aiming for something spreadable, kind of like thick applesauce or a jam that really holds its shape. When you stir it, you should be able to draw a spoon through the bottom of the pot and the path should stay clear for a second or two before the pear butter flows back. It shouldn’t be runny at all, but you also don’t want it to be so thick it’s like a solid brick! It takes a bit of patience, but that slow cooking really concentrates the flavors and makes it incredibly rich.
Canning Your Delicious Pear Butter
Now that you’ve got this gorgeous, spiced pear butter, you’ll want to make sure it lasts! Canning is the best way to preserve this fall goodness for months to come. It might sound a little intimidating, but it’s actually pretty simple, and it means you can enjoy your homemade pear butter all winter long. Trust me, the flavor is so much better than anything store-bought, and knowing you made it yourself is super rewarding!
Preparing Jars and Processing Your Pear Butter
Before you start, make sure your jars, lids, and bands are super clean. You can sterilize your jars by boiling them in water for about 10 minutes. Keep them hot! Ladle your hot pear butter into the sterilized jars, leaving about 1/4 inch of space at the top. Wipe the rims really well with a clean, damp cloth – this is important for a good seal! Then, put on the lids and screw on the bands until they’re just fingertip tight. Carefully place the filled jars into a boiling water bath canner, making sure they’re covered by about an inch of water. Process them for 10 minutes (adjust for altitude if you’re higher up!). Once they’re done, carefully lift the jars out and let them cool completely on a towel-lined counter. You’ll hear them “pop” as they seal! It’s so satisfying.
Tips for a Perfectly Spiced Pear Butter
Making this pear butter recipe is so rewarding, and a few little tips can make it even better. It’s all about getting that perfect balance of sweet pear and warm spice. Don’t be afraid to experiment a little; that’s part of the fun of making things from scratch!
Selecting the Best Pears for Pear Butter
For the absolute best pear butter, choose pears that are really ripe—almost overripe! They should yield easily to gentle pressure. Using a mix of pear varieties, like a sweeter Bartlett with a firmer, more flavorful Bosc or Anjou, gives your pear butter a wonderful depth of flavor that you just can’t get from just one type. Avoid pears that are bruised or have soft spots, though; just focus on that lovely ripeness!
Customizing Your Spiced Pear Butter
This pear butter recipe is a fantastic base for playing with flavors. If you love that warm spice blend, feel free to bump up the cinnamon or nutmeg! Some people even add a pinch of ground ginger for a little zing, or even a tiny bit of allspice. If you’re feeling adventurous, you could even try making a pear apple butter by adding a couple of chopped apples along with the pears. It’s all about making it your own!
Storing Your Homemade Pear Butter
If you’re not canning your pear butter, no worries! It stores beautifully in the refrigerator. Just make sure it’s in an airtight container. It should stay fresh and delicious for about 3 weeks. If you happen to make a huge batch and want to save some for even longer, you can absolutely freeze it! Just pop it into freezer-safe containers, leaving a little headspace for expansion, and it should be good for several months.
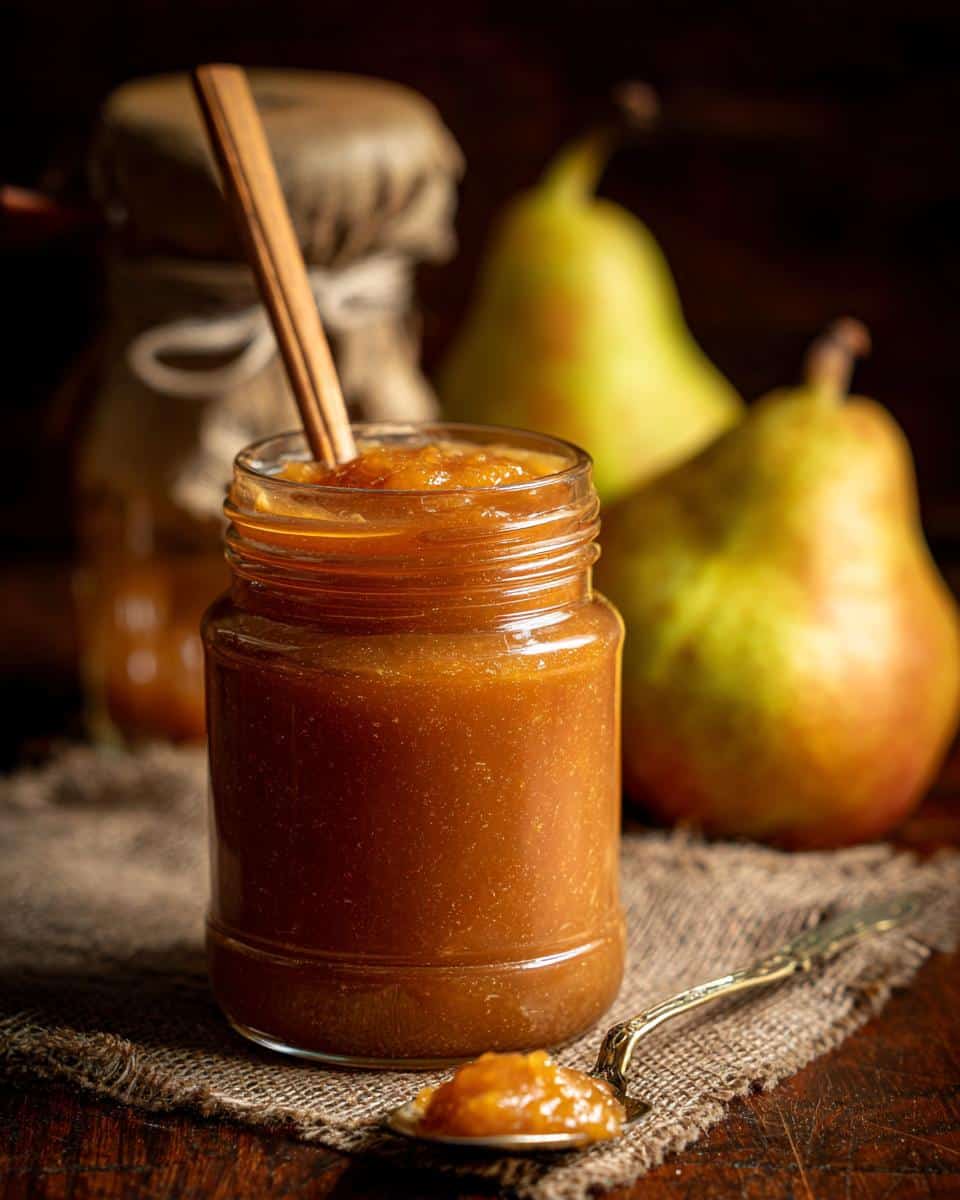
Serving Suggestions for Your Pear Butter Recipe
Okay, so you’ve made this amazing pear butter recipe, and now you’re wondering what to do with it! Honestly, this rustic pear spread is so versatile. My favorite way to enjoy it is simply spread thick on a piece of warm, toasted sourdough or a fluffy gluten-free cornbread. It’s also incredible swirled into plain Greek yogurt, or even served alongside a cheese board with some sharp cheddar or creamy brie. It just adds that perfect touch of homemade, spiced sweetness to anything!
Enjoying Your Rustic Pear Spread
Pair this delicious pear butter with your morning toast, a warm scone, or even a flaky biscuit. It’s also fantastic stirred into yogurt or oatmeal for a burst of fall flavor. Don’t forget to try it on a cheese board – it’s a real showstopper!
Frequently Asked Questions About Pear Butter
Got questions about making this delicious pear butter recipe? I totally get it! It’s always good to know the little details. Here are some things people often ask me.
Can I make this pear butter recipe without sugar?
Oh, absolutely! You can totally make a sugar-free pear butter. Just swap out the brown sugar for your favorite granulated sugar substitute, like erythritol or stevia. You might need to adjust the amount depending on the sweetness of your pears and your personal preference. Keep in mind that sugar helps with preservation, so if you’re not canning and making a sugar-free version, it might not last quite as long in the fridge, but it’s still wonderfully delicious for a few weeks!
How long does homemade pear butter last?
If you can your pear butter properly using the boiling water bath method, it should last on your pantry shelf for about a year, maybe even longer! Once you open a jar, though, it’s best to keep it in the refrigerator. It’ll stay nice and fresh there for about 3 weeks. If you didn’t can it and just stored it in the fridge from the start, it should also last around 3 weeks. So many ways to enjoy it!
What is the difference between pear butter and pear jam?
That’s a great question! Pear butter is usually smoother and thicker than pear jam because the fruit is cooked down for a longer time until it’s really concentrated. Jam often has pieces of fruit and uses pectin to help it set, while pear butter is typically made without added pectin and is mashed or blended until it’s super smooth. Think of pear butter as a more intense, velvety fruit spread! For more information on fruit preservation, you can check out resources from the National Agricultural Library.
Can I use different spices in my pear butter?
Yes, please do! This is where you can really have fun and make it your own. The cinnamon, nutmeg, and cloves are my go-to combo, but I’ve also added a pinch of ground ginger for a little zing, or even a tiny bit of allspice. Some people like to add a bit of vanilla extract right at the end, too. Don’t be afraid to experiment and find your perfect spiced pear butter blend!
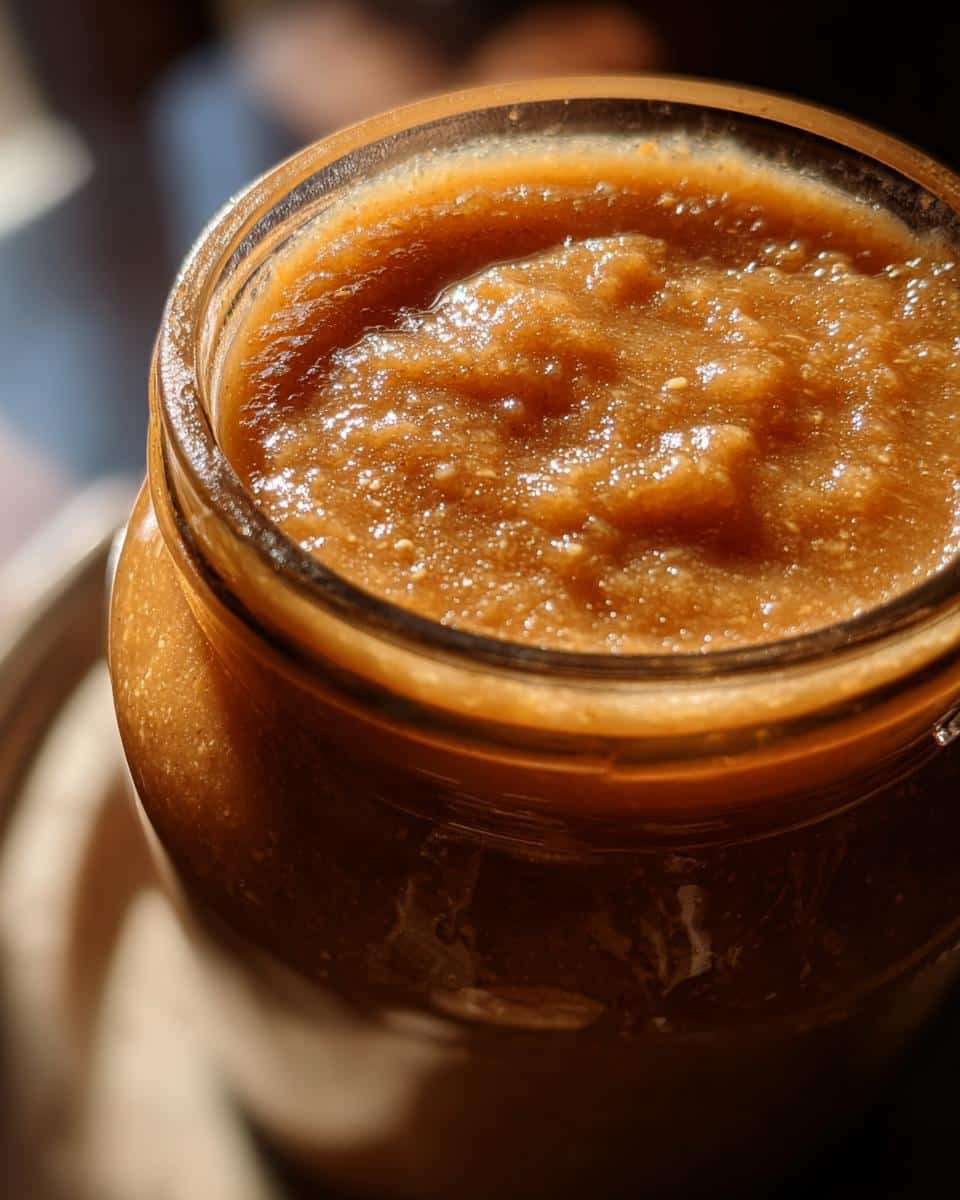
Easy Pear Butter Recipe: 6 Hours Flavor
A simple and flavorful homemade pear butter recipe with warm spices, perfect for fall. This recipe is easy to follow and can be made on the stovetop or in a slow cooker.
- Prep Time: 30 minutes
- Cook Time: 4-6 hours
- Total Time: 7 hours
- Yield: Approximately 6 cups 1x
- Category: Preserves
- Method: Stovetop or Slow Cooker
- Cuisine: American
- Diet: Vegetarian
Ingredients
- 6 pounds ripe pears, peeled, cored, and roughly chopped
- 2 cups water
- 1 cup packed brown sugar
- 1 teaspoon ground cinnamon
- 1/2 teaspoon ground nutmeg
- 1/4 teaspoon ground cloves
- 1 tablespoon lemon juice
Instructions
- Combine chopped pears and water in a large pot or slow cooker.
- Cook over medium heat on the stovetop, or on low in a slow cooker, until pears are very soft, about 1-2 hours.
- Mash the pears with a potato masher or blend with an immersion blender until smooth or desired consistency.
- Stir in brown sugar, cinnamon, nutmeg, cloves, and lemon juice.
- Continue to cook on low heat (stovetop or slow cooker), stirring frequently, until the pear butter has thickened to your liking, about 2-4 hours. It should be spreadable but not runny.
- Ladle the hot pear butter into sterilized jars, leaving about 1/4 inch headspace.
- Wipe rims clean, apply lids and bands, and process in a boiling water bath for 10 minutes for shelf-stable storage.
Notes
- Use a mix of pear varieties for a more complex flavor.
- Adjust spices to your preference.
- For a sugar-free version, substitute with your preferred sugar substitute.
- Pear butter can be stored in the refrigerator for up to 3 weeks if not canning.
Nutrition
- Serving Size: 2 tablespoons
- Calories: 70
- Sugar: 17g
- Sodium: 0mg
- Fat: 0g
- Saturated Fat: 0g
- Unsaturated Fat: 0g
- Trans Fat: 0g
- Carbohydrates: 18g
- Fiber: 1g
- Protein: 0g
- Cholesterol: 0mg
